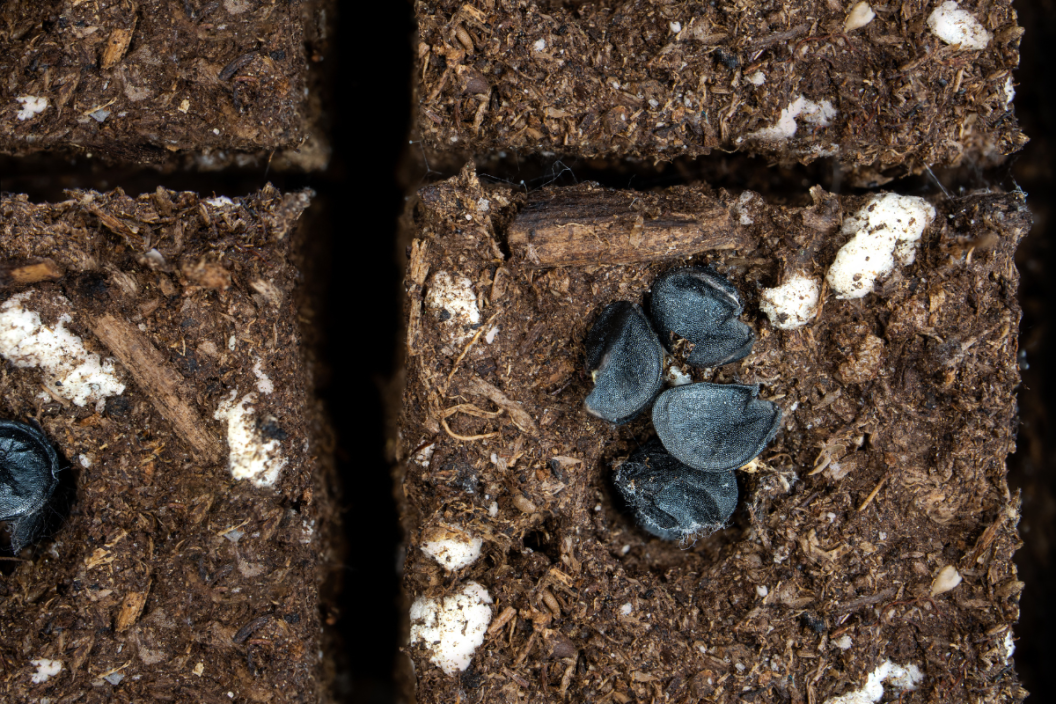
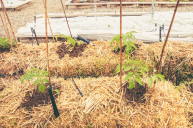
Soil blockers are a relatively new gardening tool, but are becoming increasingly popular among gardeners, farmers, and growers as an easy to use, no-waste option. Soil block makers are especially good at helping grow sprouts with healthy root systems that reestablish quickly when transplanted without any transplant shock. Soil blockers are typically made out of metal with four different cells, and they compress soil into blocks that break down easily once the plant is ready to be transplanted and the root system has formed.
Soil block makers generally come in two different sizes. A standard blocker creates plugs that are 2 inches by 2 inches and is great for starting most plants. They also make mini soil blockers, and these create mini-blocks that are .5 inches by .5 inches. These little blocks are perfect for smaller seeds that require more light and heat for germination. You can purchase these on Amazon for relatively little since they last year after year, but you can also make them yourself!
Soil Block Makers: How To DIY Them
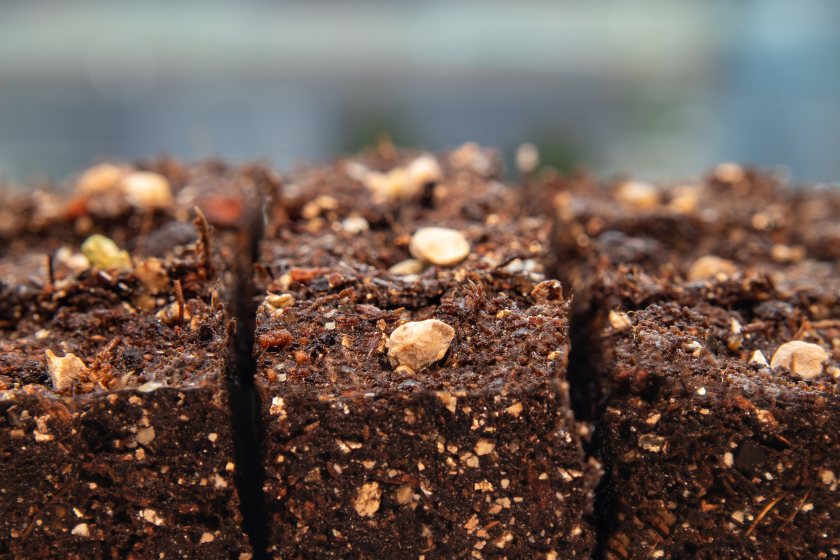
If you want to DIY a soil blocker, you can do it in a few different ways, as long as you have a larger container and a slightly smaller object to compress the soil. So many things in your recycling bin or tool shed can make a soil blocker! One common way to DIY a blocker is to take a soup can, fill it with your soil, and use a dowel rod with the lid attached (or an old mason jar lid) to compress the soil. You can also reuse old PVC pipes instead of a can. If you need to make a smaller blocker, old pill bottles work well too. Get creative with it! There are so many different ways to DIY a no-waste garden.
Some people are hesitant to make soil blocks because they like the structure plastic pots and seed trays provide, and they're afraid soil blocks will fall apart over time. The trick to getting good, solid soil blocks is to start with a great seed starting mix. I always recommend seed starting specific soil when seed starting, because it is specifically formulated to have more airflow and reduce fungal, bacterial, and pest growth in the wet soil. You can purchase this at any garden shop, or you can make your own soil by mixing coir (I personally recommend this over peat moss because peat moss is not a sustainable material), perlite, fertilizer, garden soil or potting soil, and compost. If you're making your own soil block mix, be sure to sift it first, as larger chunks will cause the soil blocks to break down. Moisten the soil thoroughly and you're ready to make soil blocks!
How To Use Soil Blocks
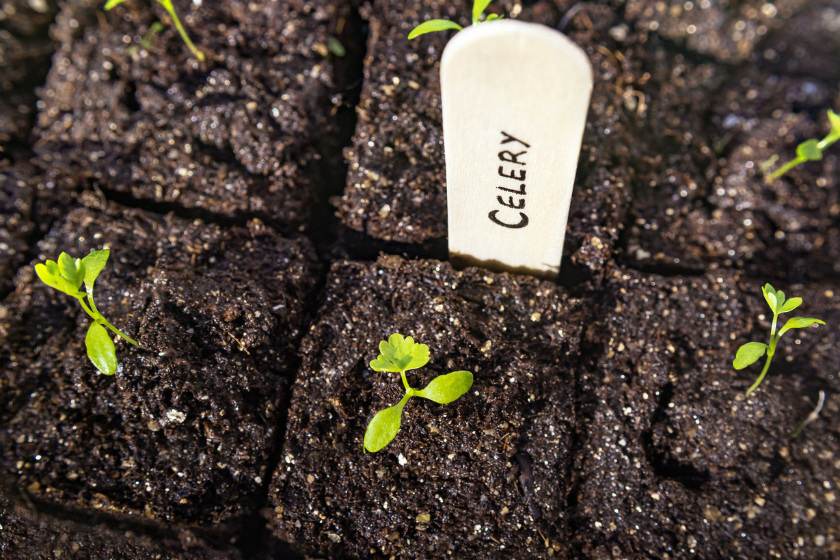
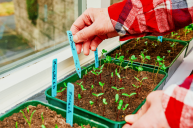
I would say that the most popular way of seed starting is with seed starter trays. The biggest reason I recommend soil blockers overseed starting trays is that it creates healthier plants in the end. The soil blocks plants don't get transplant shock, as the roots don't get damaged in transplanting. Also, the root growth doesn't get root bound, as it isn't confined to the limits of the container. Although seed trays are reusable, they start to break down over time, but a soil blocker won't, so it's zero waste.
If you're planting a large vegetable garden, seed blocking is a much better choice for starting seeds as you can make as many blocks as you need, whenever you need. If you're hit with an unexpected frost or blight, you can easily make more soil blocks and plant however many more seeds you might want without having to deal with the limited space seed starters or plastic pots have. It's easy to understand why these have won the hearts of gardeners since this technique was introduced into the US. Soil blockers are a fantastic addition to any gardener's toolshed!
