Weighted blankets provide more than just warmth- they're known to have a calming effect on those who use them. These blankets soothe depression and anxiety by emulating a hug, causing a release of serotonin and melatonin. Occupational therapists also recommend them for those on the autism spectrum, people with a sensory processing disorder, and those with ADHD. These comfy weighted sleep aids also alleviate restless leg syndrome, an incredibly frustrating compulsion to move your legs at night, sometimes leading to insomnia.
Videos by Wide Open Country
Because of their many benefits, weighted blankets are on the pricy side. You can certainly buy them online at Amazon or Bed Bath & Beyond, but a cheaper option would be to DIY it and make your own! Creating your own weighted blanket is a fun project and will help you to appreciate its comfort even more than one bought online. This is also a great option for a homemade gift, since you can personalize it with colors and patterns you know your recipient would appreciate. Making a DIY blanket is easier than you might imagine, and once you have the necessary supplies all you need is the time!
Size of Your Weighted Blanket
To make your own weighted blanket, first, you need to determine its size. Experts recommend basing its size on the person using the weighted blanket rather than matching it with the bed. It's best to measure the length of the person from chin to heel, creating a blanket that matches this length. Making the blanket larger than this will waste materials and detract from its actual use because if the sides hang off the bed, this could pull the weighted blanket off of the person using it.
Along with measuring the length of the person using the weighted blanket, it's important to take weight into account. Your weighted blanket should be about 10% of a person's body weight, plus a few pounds. So, if you're making a weighted blanket for a family member who weighs 140 lbs, your blanket's total weight should be about 16 lbs. This will provide the perfect size blanket to provide deep pressure without overwhelming the person sleeping.
Materials to Make a Weighted Blanket
Now that you've determined the size and weight of your blanket, it's time to decide on materials! This depends a lot on your personal preferences. If you often get cold during the night, warmer fabrics like fleece, flannel, or minky fabrics might be best. However, these should be avoided if you're hoping for a year-round weighted blanket. Those who sleep hot should choose a breathable cotton blend.
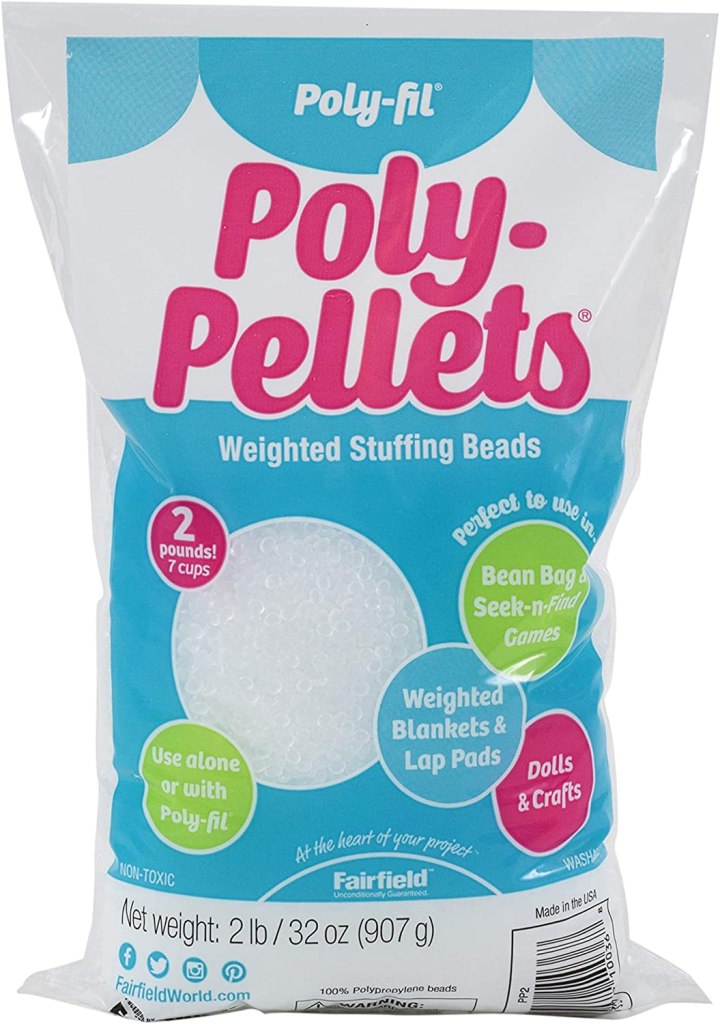
The blanket filler is also important when making a homemade weighted blanket, as this can affect the blanket's durability and comfort. Poly pellets are the classic option, but glass beads are best for a blanket that stays cool year-round.

Some people fill their weighted blankets with rice or beans for a super inexpensive option, but you'll need to use more of these to get to the desired weight since they are lighter than glass beads and pellets. Along with this, beans, rice, and grains expand in water, so they shouldn't be used if you want a machine-washable blanket.
Step by Step Tutorial
Once you've figured out the materials and size of your homemade weighted blanket, all you have left is the process of making it! Make sure to wash and dry your fabric before use, since this can change its size. You'll need fabric, a filler, scissors, tailor's chalk, measuring tape, measuring cups, and a sewing machine. You can buy poly pellets on Amazon or Etsy, and you can use old blankets or buy fabric at a craft store.
Cut two pieces of fabric to identical sizes. The long side should be the length of the person using the blanket, from their heel to chin. The short side should be about 26 inches wide for one person, or however wide you prefer. Include an extra inch around all sides to allow for binding.
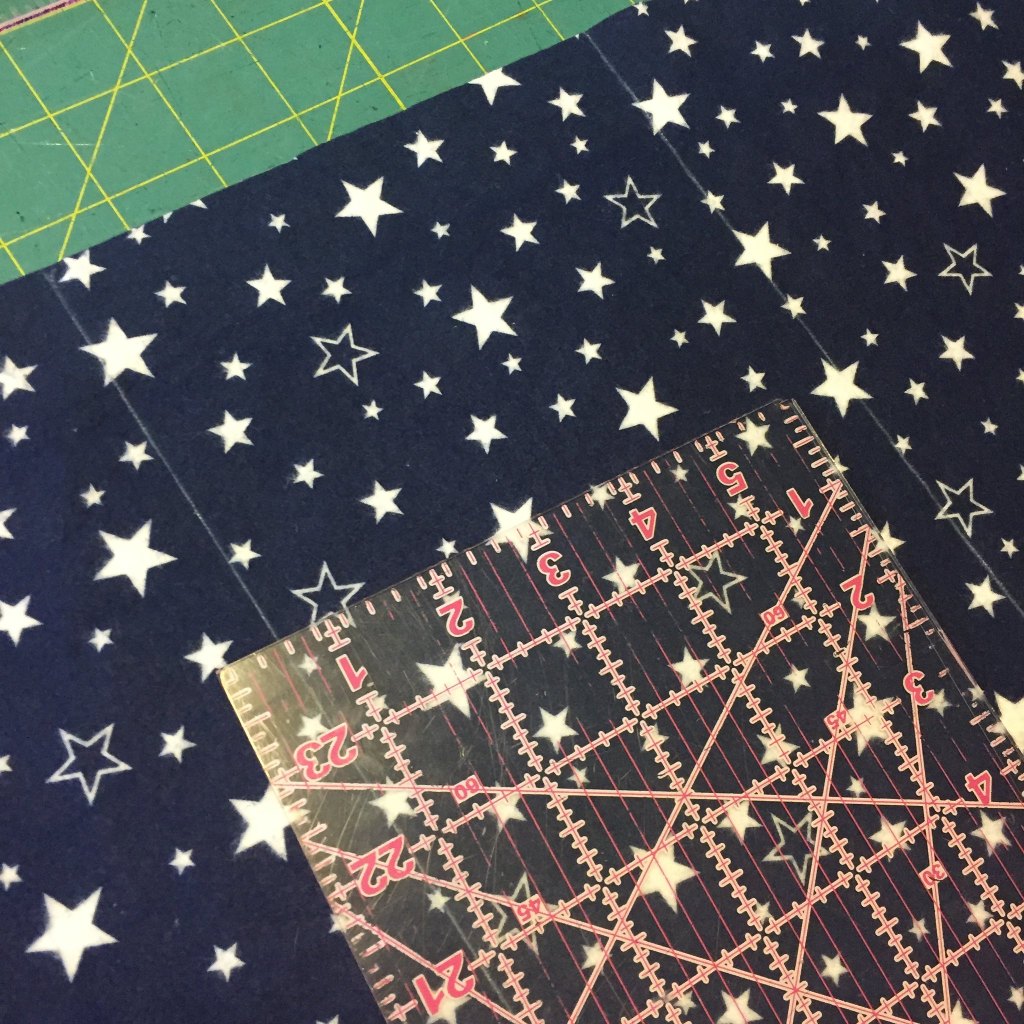
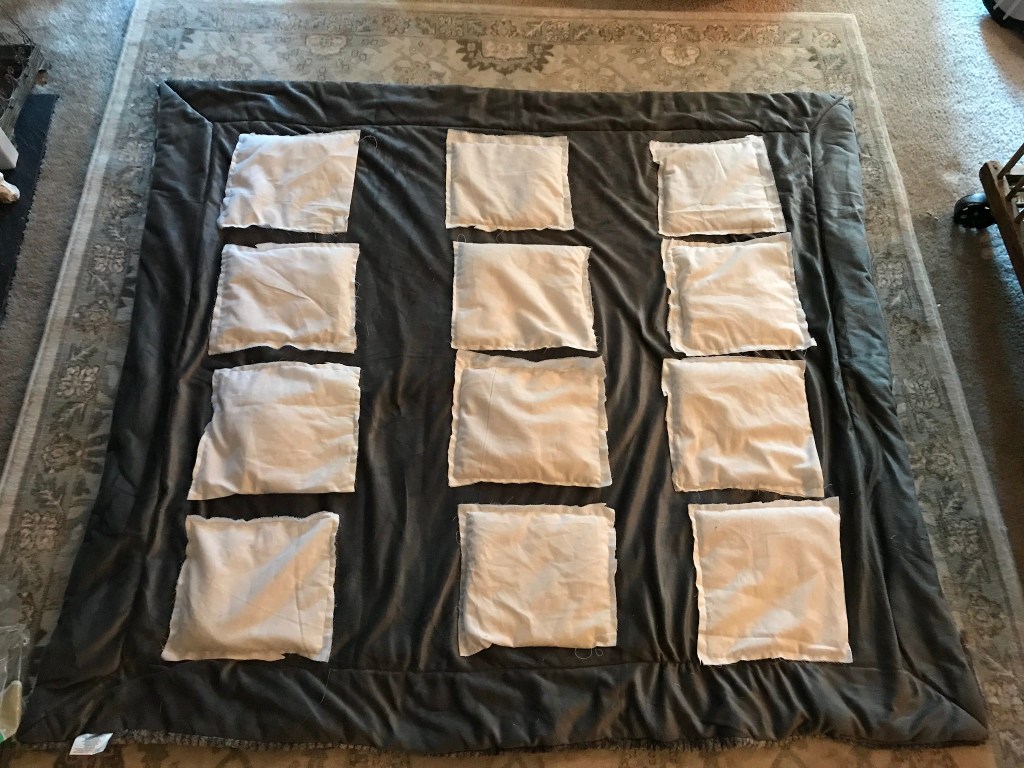
Use tailor's chalk and measuring tape to draw columns down the length of the weighted blanket every four inches, remembering to leave an extra one-inch margin on all sides. Mark horizontal rows every four inches, and then do the same with vertical rows. This should result in a four-inch row of squares throughout the blanket, which will be perfect for holding the pellets.
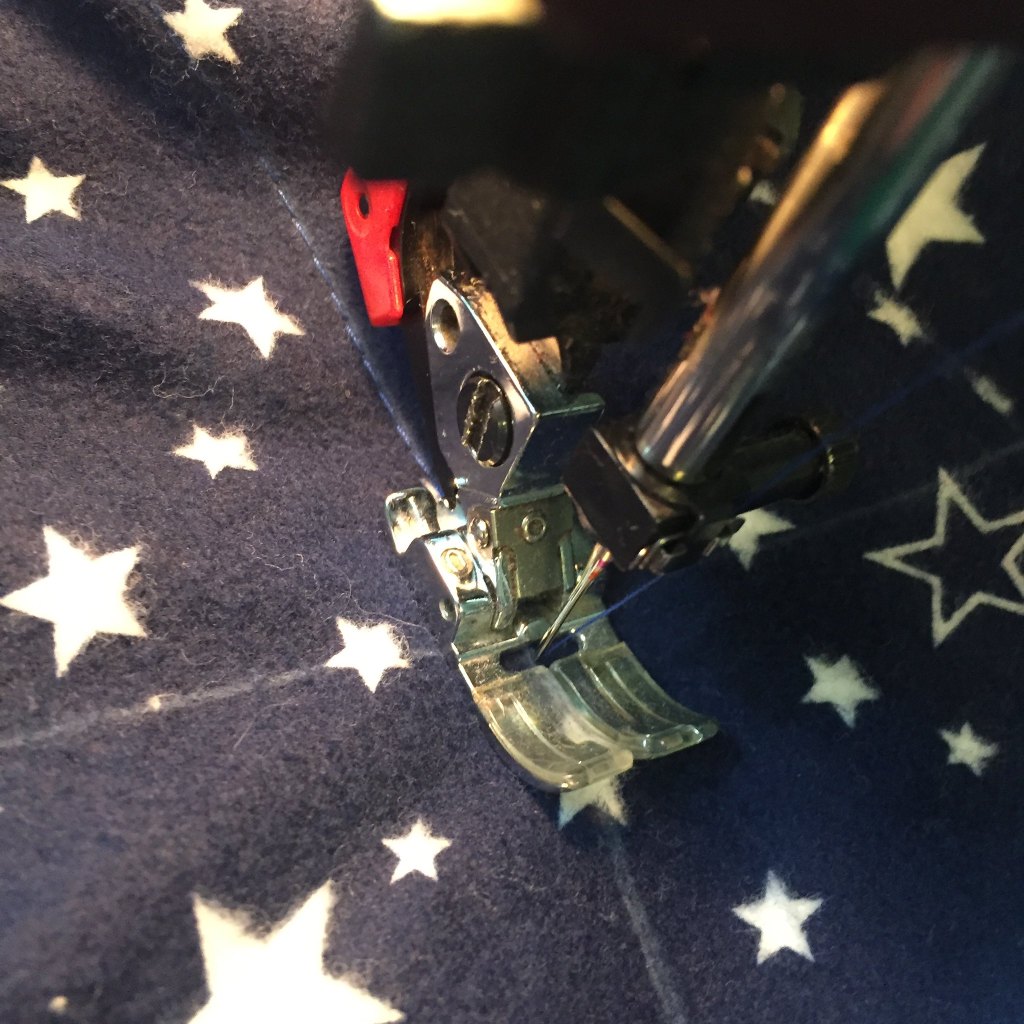
Time to start sewing! Stitch the two sides and bottom of the blanket together using your sewing machine. Then, sew along the vertical lines from top to bottom. Now you can start to fill!
It's important to fill the blanket so that the weight is equally distributed. Divide the weight of your blanket by the number of squares, and that should tell you how much weight goes in each square. To measure this out, convert pounds to ounces and use a measuring cup to measure out the ounces of filler you need for each square. There are 16 ounces in a pound, so to figure out how many ounces of filler go in each square, multiply the number of pounds by 16, then divide that number by the number of squares in the blanket.
Fill each square with the determined amount of filler, and then stitch up the blanket, starting with the first horizontal row. Continue sewing rows until all squares are stitched up. Enjoy your DIY weighted blanket!
For a visual tutorial, here's a YouTube video: