There are lots of different plans out there for making your own beehive. But if you're just getting interested in pursuing beekeeping in your garden, you probably don't want something too complicated when it comes to creating beekeeping equipment such as a DIY beehive.
Videos by Wide Open Country
Well, you're in luck, aspiring beekeeper! A simple beehive is not actually too difficult to make, as long as you have the right tools and a little bit of time to put a simple type of hive for bees together.
What Do I Need to Make My Own Beehive?
" data-instgrm-version="14" style="width:100%; max-width:540px; margin:auto;">According to WikiHow, new beekeepers just need a hive stand, bottom board, hive bodies (brooder), smaller boxes known as honey supers, and a cover to make a DIY beehive.
The hive stand lifts the hive off the ground, and the bottom board is a flat piece of wood that acts as the base for the super. Eventually, your happy little bees will be able to enter or leave via an entrance in the bottom board.
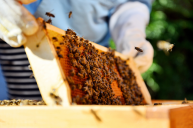
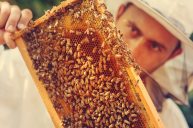
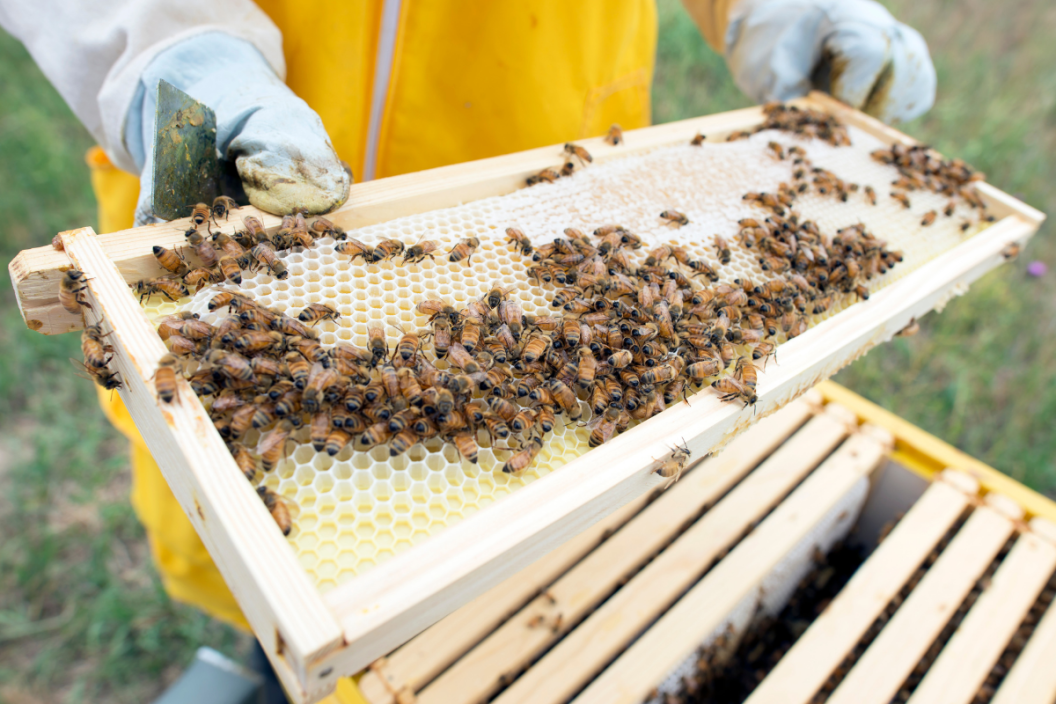
You'll also use a small piece of wood to block part of the entrance in the bottom board and a slatted rack to put between the bottom board and the brood chamber for ventilation. Next, you'll need a deep super, which is a "large box that the bees build their hive into," according to the tutorial. The deep super is the largest section of the new home you're creating for bees, and you'll end up using one or two for a honey bee box.

You'll also need superframes to insert into the deep super to hold the foundation — eight to 10 of them. Finally, you'll use a queen excluder to keep the queen bee from laying eggs in the honey, a honey super — a large box on top of the deep super where the bees will store honey — honey superframes, an inner cover, and an outer cover.
How to Make a DIY Beehive
" data-instgrm-version="14" style="width:100%; max-width:540px; margin:auto;">The first thing Wikihow suggested is building your deep supers — they recommended making them with 2 short sides measured 16.25-by-9.56 inches and 2 long sides that are 20-by-9.56 inches. Make sure they have tongue-and-groove or dovetailed ends. Next, you'll build honey supers with the same length and width as your deep supers with the same edges.
Using waterproof wood glue, the next step is to put your supers together. You'll put a little glue on each of the interlocking joints then gently slide the slats into place. You can also use nails to further secure the supers.
Next, you either buy or build the bottom board with an entrance reducer, according to WikiHow. It should be the same length/width as the supers but the height of the edge should only be .375-inches high. The entrance reducer is attached to the front and the site recommended measurements of .75 inches for the summer entrance and .38 inches for the winter one.
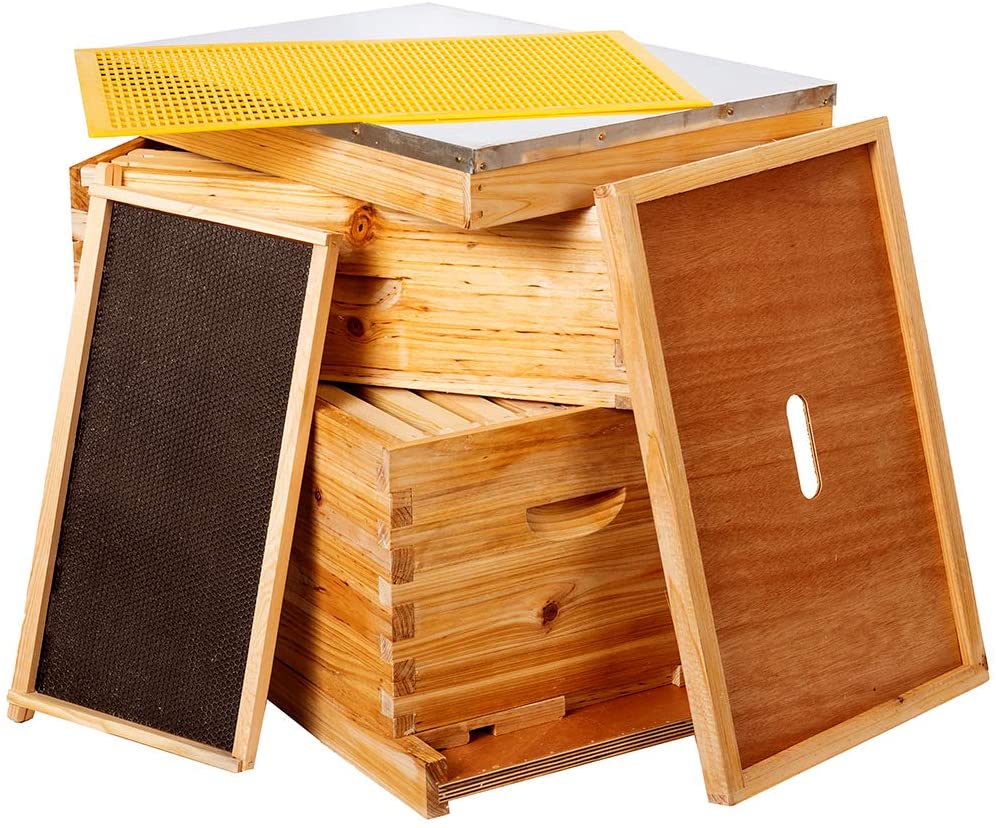
Then, you fit an excluder on the top within the deep super to keep the queen from going into the honey supers. Put on the inner cover and then the outer cover and fit it tightly. Next, you slide your frames into each super vertically until they lock-in.
Finally, you assemble it all together! "The bottom board goes first," WikiHow noted. "Followed by the slatted frame (if you have one), then the deep super(s), queen excluder, honey super(s), and the cover."
Once you introduce new bees to your hive boxes or the pollinators discover your DIY beehive themselves, you should start getting honeycomb in no time.
There are plenty of other beehive plans on the internet, including ones that are made with things like mason jars. But we found this to be the most simple guide — check out WikiHow if you'd also like to see some images to go along with the setup.
Watch: How to Make a DIY Clay Target Holder
https://rumble.com/embed/v3v697/?pub=7gve